DIY ROLLING KITCHEN ISLAND / COFFEE BAR
I have really talented friends. Really talented friends who are also extremely generous. When my friends Chelsea and Yeon moved earlier this summer, they gave me two of Yeon’s handcrafted wooden pieces for my new house, and I immediately knew what I wanted to do with the larger of the two pieces. I had been looking for a rolling cart situation for the coffee bar I want to have in my kitchen, but nothing I found stood out as extra special. This was the perfect size and height for what I wanted, so I decided to transform it with a little bit of elbow grease and paint!

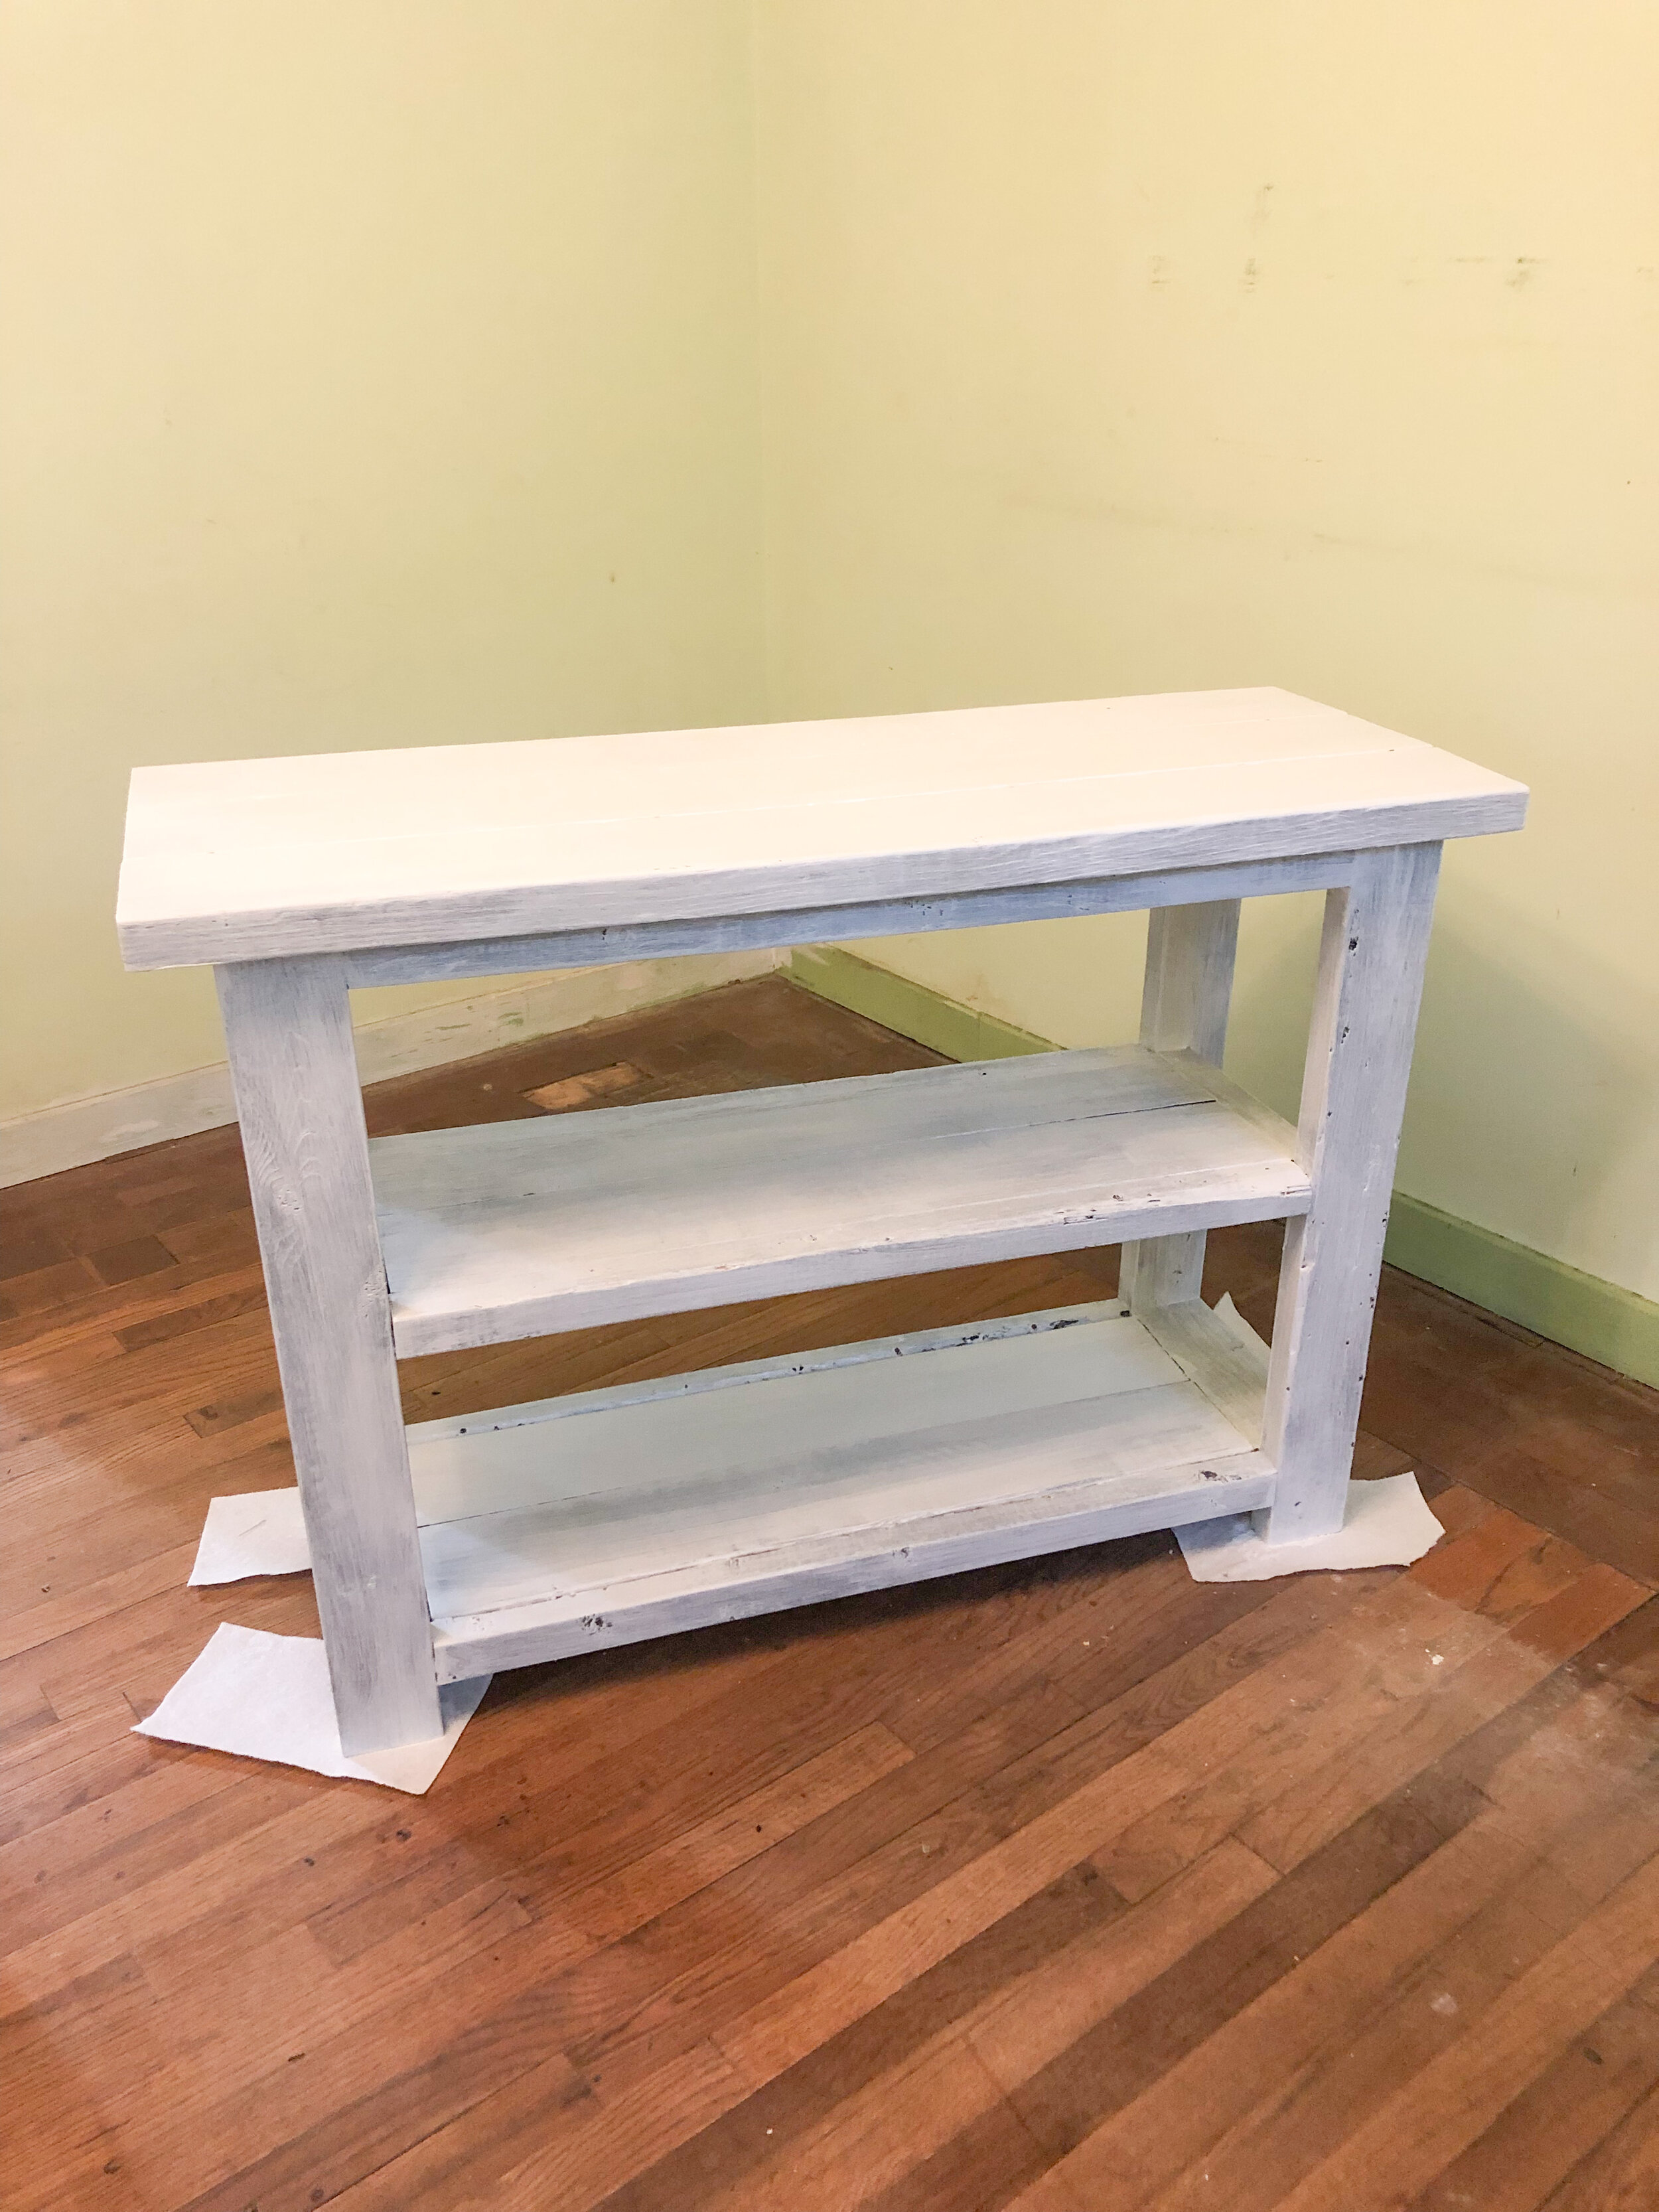
Here’s what it looked like before I got my hands on it - see how gorgeous and chunky and sturdy it is? It had such good bones and potential to start with!

WHAT I DID
(For reference, everything I used and mention below came from Lowe’s! Not sponsored, just my favorite place to get supplies!)
1. Sanded the whole piece lightly with a sanding block. As you can see, it was originally stained (but not sealed!) and I wanted to give the primer a little bit of grit to hang on to. This was definitely the most tedious part of the process, but I think it’s always important to do the proper prep work to make sure you get a lasting final product.
2. Painted one thick coat of heavy duty primer over the entire piece. I used Kilz 3 Premium Heavy-Duty High Hide Sealer and Stain Blocker. Let dry for 24 hours. This also allows you to check back in and see if there are any places that might need a second coat if you can see some of the stain peeking back through. This covered extremely well, and I only ended up needing a single coat.
3. Painted the top with a glossy white enamel to ensure an easy-to-clean surface. I used Valspar Anti-Rust Armor Oil-Based Enamel in Glossy White and I am OBSESSED with this stuff. My parents had just used it for the outside wooden trim on their house, so I was able to use their leftovers, but I would HIGHLY recommend this. I’m definitely going to go buy a big 5 gallon bucket and use it for my trim as well.
4. Painted the body with 2 coats of standard latex paint in Valspar Peach Whisper. I actually used a sample size and that was just enough to cover the whole thing twice, which it needed.

5. Installed castors to all 4 legs. I used Slipstick 2 Inch Rubber Castor Wheels, which were super easy to install. They come with 2 options for installation so they’re pretty universal for any project you might have. This is an extremely heavy piece and it rolls very easily and smoothly with these installed.

I’m absolutely over the moon with how this turned out and I can’t wait to style it and see it shine in its own little spot in the kitchen! I share tons of daily updates about the house over on Instagram, so I’d love for you to come hang out with me over there, too!

SHOP THIS LOOK

XO, CHRISTEN
This post contains affiliate links.